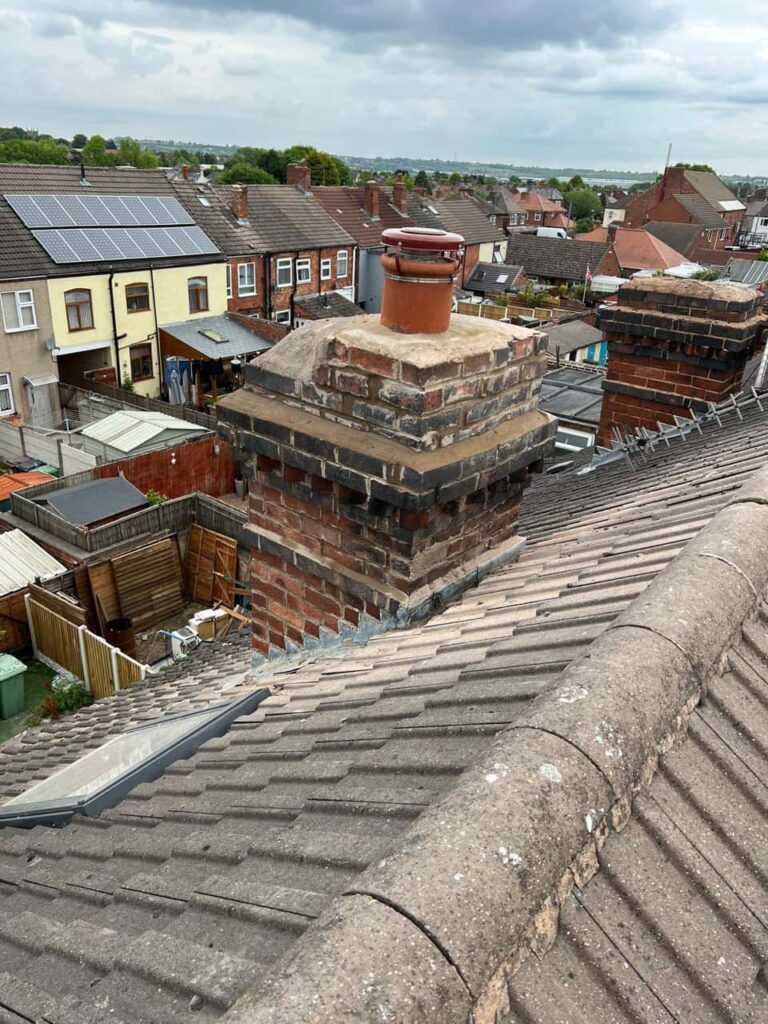
Introduction: Inspecting your roof for leaks is essential to home maintenance but requires careful planning and safety precautions. At Foots Cray Roofing Repairs, we understand the importance of safely accessing your roof to identify and address potential leaks. Here’s a detailed guide on how to safely inspect your roof for leaks:
1. Assess Safety Considerations
Before climbing onto your roof, assess safety factors:
- Weather Conditions: Choose a dry, calm day to avoid slippery surfaces and ensure stable footing.
- Safety Gear: To protect against potential hazards, wear non-slip shoes or boots with good traction, a safety harness, and gloves.
- Ladder Stability: Ensure your ladder is secure on level ground and extends at least three feet above the roof edge for safe access.
2. Use Proper Ladder Safety Techniques
Follow these ladder safety tips:
- Positioning: Place the ladder at a stable angle against the roof edge, securing it with locks or stabilisers if necessary.
- Weight Capacity: Ensure the ladder can support your weight and any tools you plan to carry up.
3. Inspect the Roof from Ground Level
Before climbing onto the roof, use binoculars to conduct an initial inspection from ground level:
- Identify Signs of Damage: Look for missing or damaged shingles, curling edges, or areas with accumulated debris that could indicate potential leaks.
4. Climb Onto the Roof Safely
Once you’ve conducted a ground-level inspection and confirmed safe conditions, follow these steps to climb onto the roof:
- Carefully Ascend the ladder one step at a time, maintaining three points of contact (two feet and one hand) at all times.
- Maintain Balance: Move slowly and deliberately, avoiding sudden movements that could shift the ladder or cause you to lose balance.
5. Walk Safely on the Roof Surface
Once on the roof, proceed with caution:
- Stay on Secure Areas: Walk on stable roof sections, avoiding fragile or damaged areas that could give way underfoot.
- Use Roofing Materials for Support: Grip the roof’s edge or use roofing features like chimneys or vent pipes for stability.
6. Inspect for Signs of Leaks
Focus on key areas where leaks commonly occur:
- Flashing: Check chimneys, vents, skylights, and dormers for cracked or deteriorated flashing.
- Shingles: Look for missing, cracked, or loose shingles that could allow water ingress.
- Valleys: Examine roof valleys where water runoff accumulates, ensuring they are clear of debris and properly sealed.
7. Document and Plan Repairs
Take notes or photos of any areas with visible damage or signs of potential leaks:
- Documentation: Record the location and extent of damage for reference when planning repairs or consulting with a professional roofer.
- Safety Precautions: Avoid leaning over edges or reaching beyond safe areas to prevent accidents or falls.
8. Descend Safely
When it’s time to descend from the roof, follow these safety measures:
- Reverse Climbing: Descend the ladder facing towards it, maintaining three points of contact until safely back on the ground.
- Secure Tools: Carefully lower any equipment using a rope or secure them in a tool belt to prevent dropping hazards.
Conclusion: Safely accessing your roof for leak inspection is essential for maintaining your home’s structural integrity and preventing water damage. By following these guidelines from Foots Cray Roofing Repairs—assessing safety considerations, using proper ladder techniques, conducting thorough inspections, and documenting findings—you can identify potential leaks early and address them promptly.
Call us on: 0208 059 2692
Click here to find out more about Foots Cray Roofing Repairs
Click here to complete our contact form and see how we can help you with your roofing needs.

